Setting Up a Facilitated Course

  1. From the Administrator's Home, open the Navigation Bar on the left of the screen.  Click Resources, then select Maintain Learning Resources.


  2. Click New in the top Tool Bar.


  3. The following screen will appear with the Overview tab displayed.  Select Facilitated Training from the Type of Resource drop-down.


  4. Assign a Title to the course by populating the Title field.  The Short Description field is optional, but can be helpful in ensuring that users understand the purpose of the training.


  5. Populate the Time Required field.  The duration of time required to complete the course should be entered here.


  6. Use the Resource Status drop-down to indicate the status of the facilitated course (e.g., Active, Inactive, or Retired).  Users will only be able to access the course if the Resource Status is set to Active.


  7. Select Instructor Led from the Media drop-down.  If the course is virtual, select Virtual Instructor Led.


  8. Select the Provider of the content from the Provider drop-down.


  9. Optional:  Check the Allow Multiple Enrollment box to allow users to enroll in the course more than once.  For best practice, it is only recommended to check this box if users will be required to retake the course on a regular basis.
     
  10. Under the Description tab, enter the Long Description of the course.  You may copy the text from the Short Description field on the Overview tab if necessary.


  11. Optional:  Under the Objectives tab, enter the Learning Objective(s) for the course if applicable.
     
  12. Click the Details tab.  Assign a Primary Category or Categories to the course.  You can also use this tab to designate Achievements Upon Completion, Ratings and Evaluations, as well as CEU Credit(s).


  13. Use the Owners sub-tab to populate the Course Owner field under the Person column.  You must also populate the Instructional Designer and/or Content Owner fields under the Person column.  Both fields are not required, but one must be present.  Populate the Instructor field
    under the Person column since this is a Facilitated course.  


  14. Optional:  Enter prerequisites for the course under the
    Prerequisite tab, if applicable.
     
  15. Click the Facilitated Tab.  The Session Defaults sub-tab should display by default. 
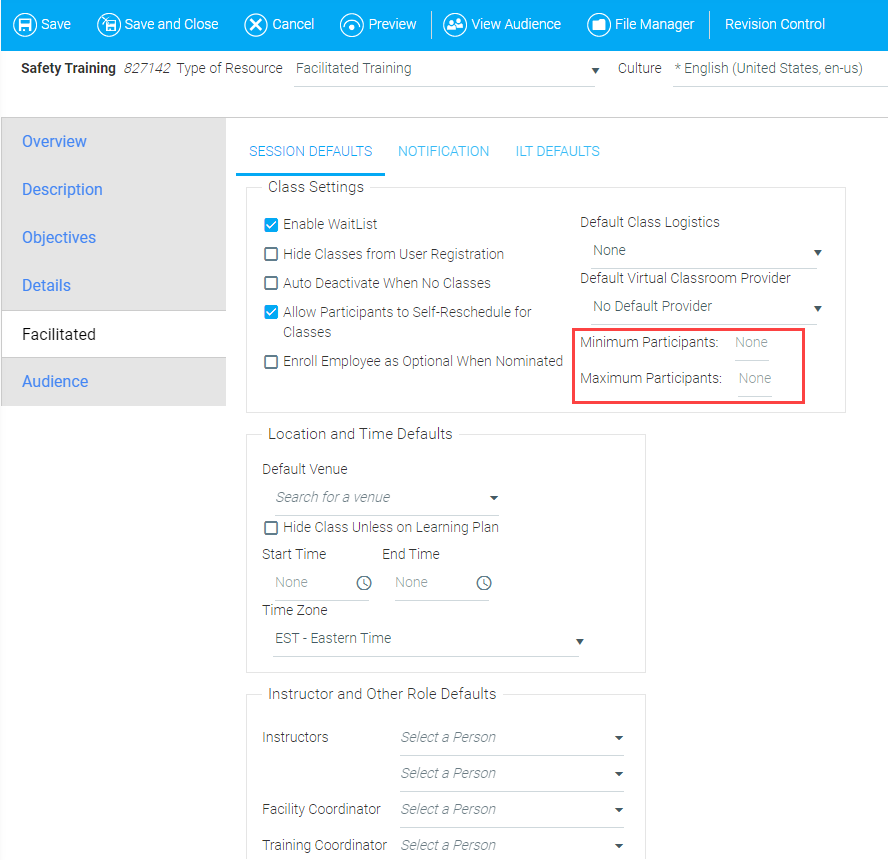
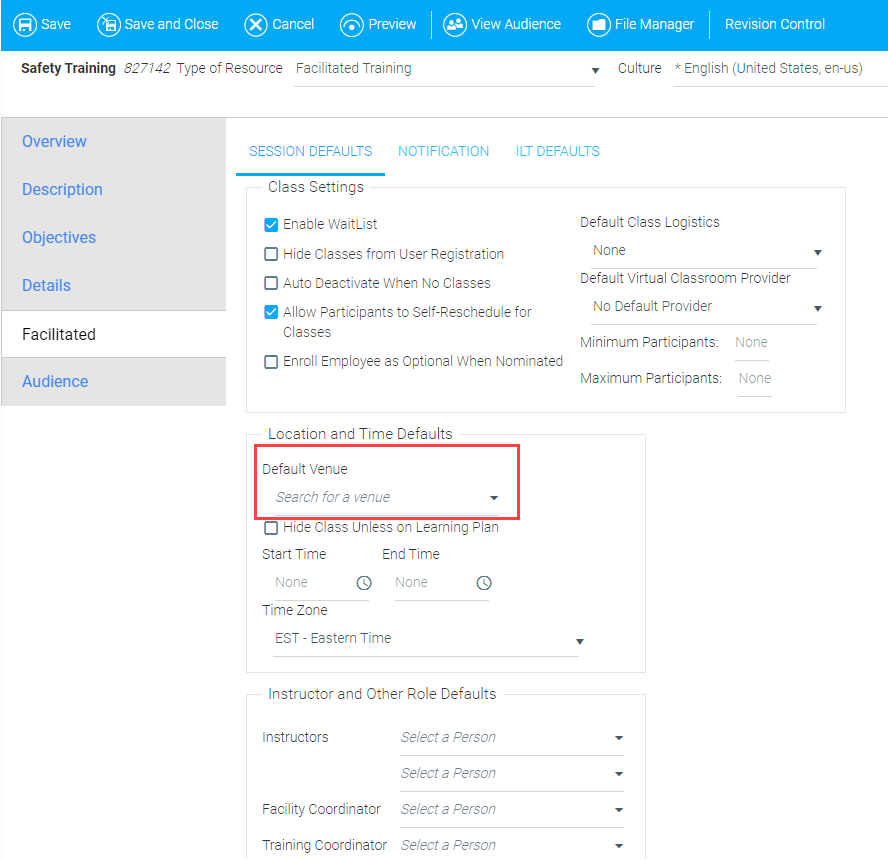
    •  Check Enable Waitlist to give users permission to add themselves to a course's waiting list.
    •  Check Hide Classes from User Registration to prevent users from enrolling themselves in a course.
    •  Check Allow Participants to Self-Reschedule for Classes to give users permission to reschedule themselves for a course.


  16. To set a minimum and maximum number of users who can enroll in a course, enter the values in the Minimum Participants and Maximum Participants fields.


  17. Begin typing the name of the course's venue or virtual provider in the Default Venue field.  Then click the name when it appears.


  18. Enter the starting and ending time for the course in the Start Time and End Time fields.  Select your local time zone from the Time Zone field's drop-down menu.


  19. Click the Notification sub-tab.  The Participant sub-tab will display by default.  Select from the drop-down menu the number of days prior to a session that users should receive a class reminder notification.  If desired, you can modify the text field to change the message that will be sent to users.


  20. Click the Instructor sub-tab.  Select from the drop-down menu the number of days before a session or following a session's registration window when an instructor should receive a class reminder notification.  If desired, you can modify the text field to change the message that will be sent to the instructor.


  21. Click the Audience tab.  Enter the date when the course will become active in the Effective Date field.  Best practice is to leave the other selections under the Primary tab unmodified.


  22. To set up the course's audience, follow the instructions provided in About Audience Mapping and the topics that follow.


    Note

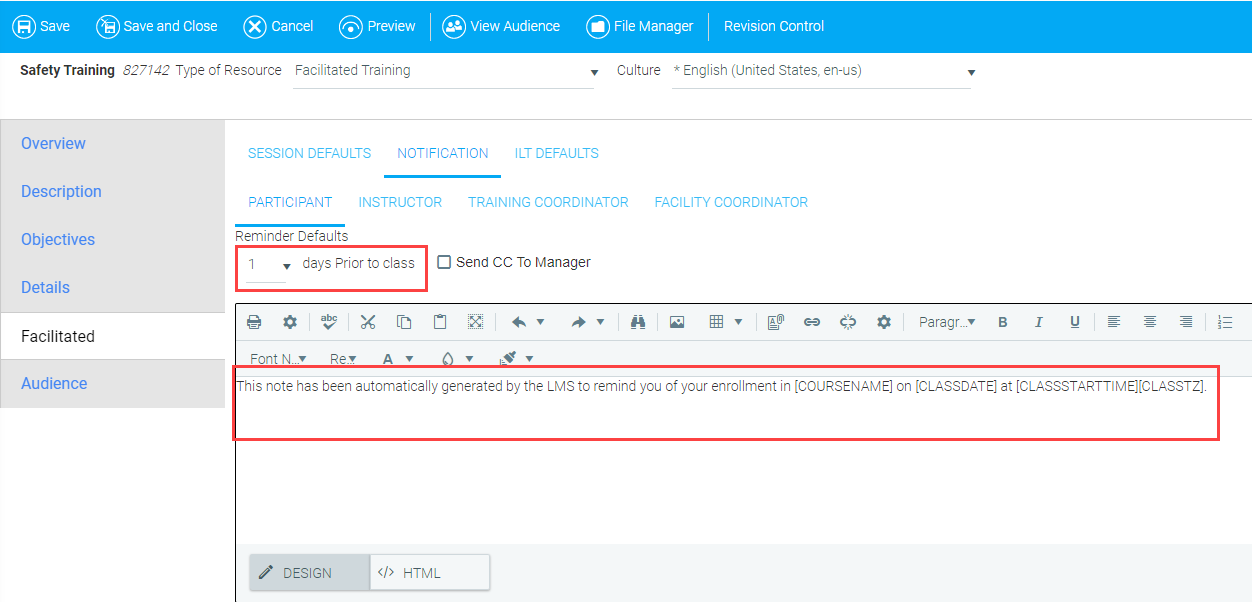
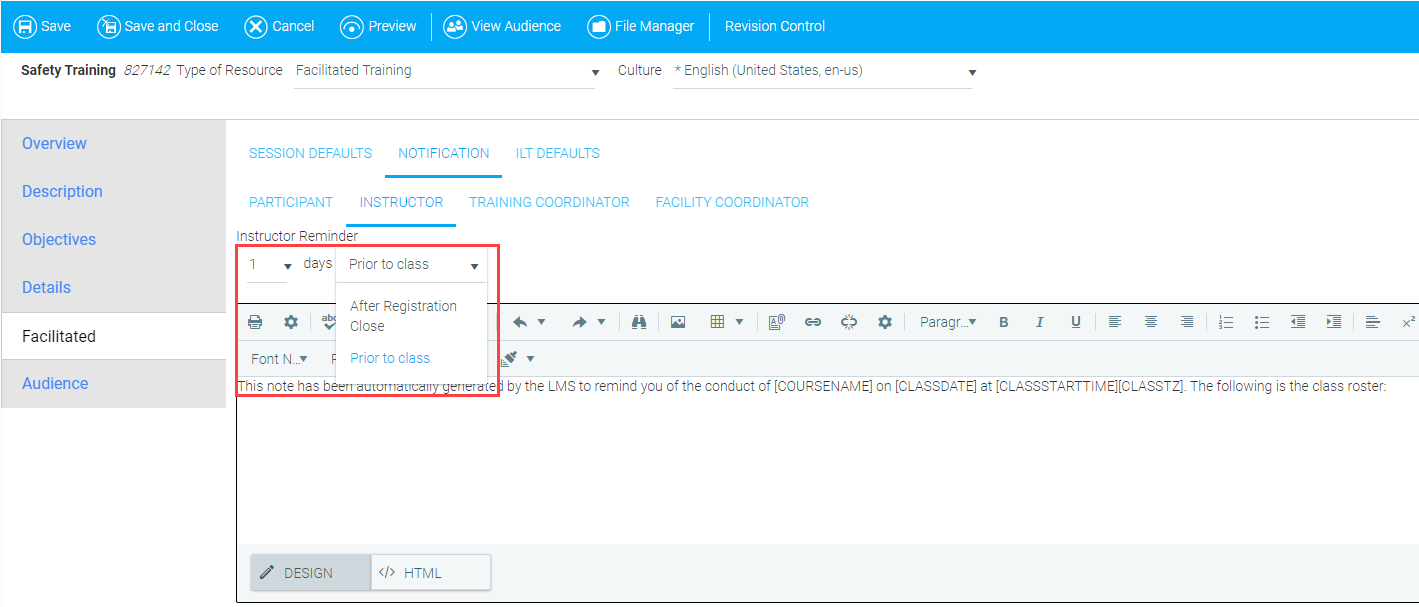
    For Facilitated courses, notifications will not need to be set up under the Notifications tab since a user who registers for the course will be sent an email that includes a calendar invitation.

  23. Click the Metadata Tab, then click the Time Description sub-tab.  In the text field, enter approximately how long it will take users to complete this course in quarter-hour increments (e.g., 15 minutes = 0.25 hours).


  24. Return to the Overview tab to ensure that the resource is set to Active.  Once confirmed, click Save and Close to complete the course setup.  You will now need to add classes to this course.  See Adding a Class to Facilitated Sessions for further instructions.
     
  25. After adding classes to the Facilitated course, add the course to the Course Catalog.  See Adding a Course to the Course Catalog for instructions.

For a brief video on this topic, please see Setting Up a Facilitated Course.

Related Links

Create or Edit a Learning Resource

Create a Document Resource

The Overview Tab

The Description Tab


The Details Tab

The Facilitated Tab

The Audience Tab

The Pricing Tab

The Metadata Tab

Optional Information for Facilitated Courses 

Adding a Class to Facilitated Sessions

Adding a Course to the Course Catalog